
Bespoke wedding dress fittings
If you're thinking of commissioning a bespoke wedding dress, I thought it would be useful to return to bride Lois from my previous post, and to show some images from her fittings so the progress of having a dress made can be seen. I've divided this process into two posts. This is part 1.

First fitting:
For at least the first 2 fittings, the toiles (prototypes of the design to check the fit) are made in calico, or something similar. It's not the loveliest of fabrics but it works well for toiles because it's cheap, easy to make marks on and to unpick and tear up! It's fairly standard to use calico for toiles in the fashion industry. Sometimes it's called a 'muslin', which I think might be more of an American term.
(NB: It's important to have the underwear you're going to be wearing on your wedding day for the first fitting and every fitting thereafter, otherwise it's not possible to fit very accurately.)
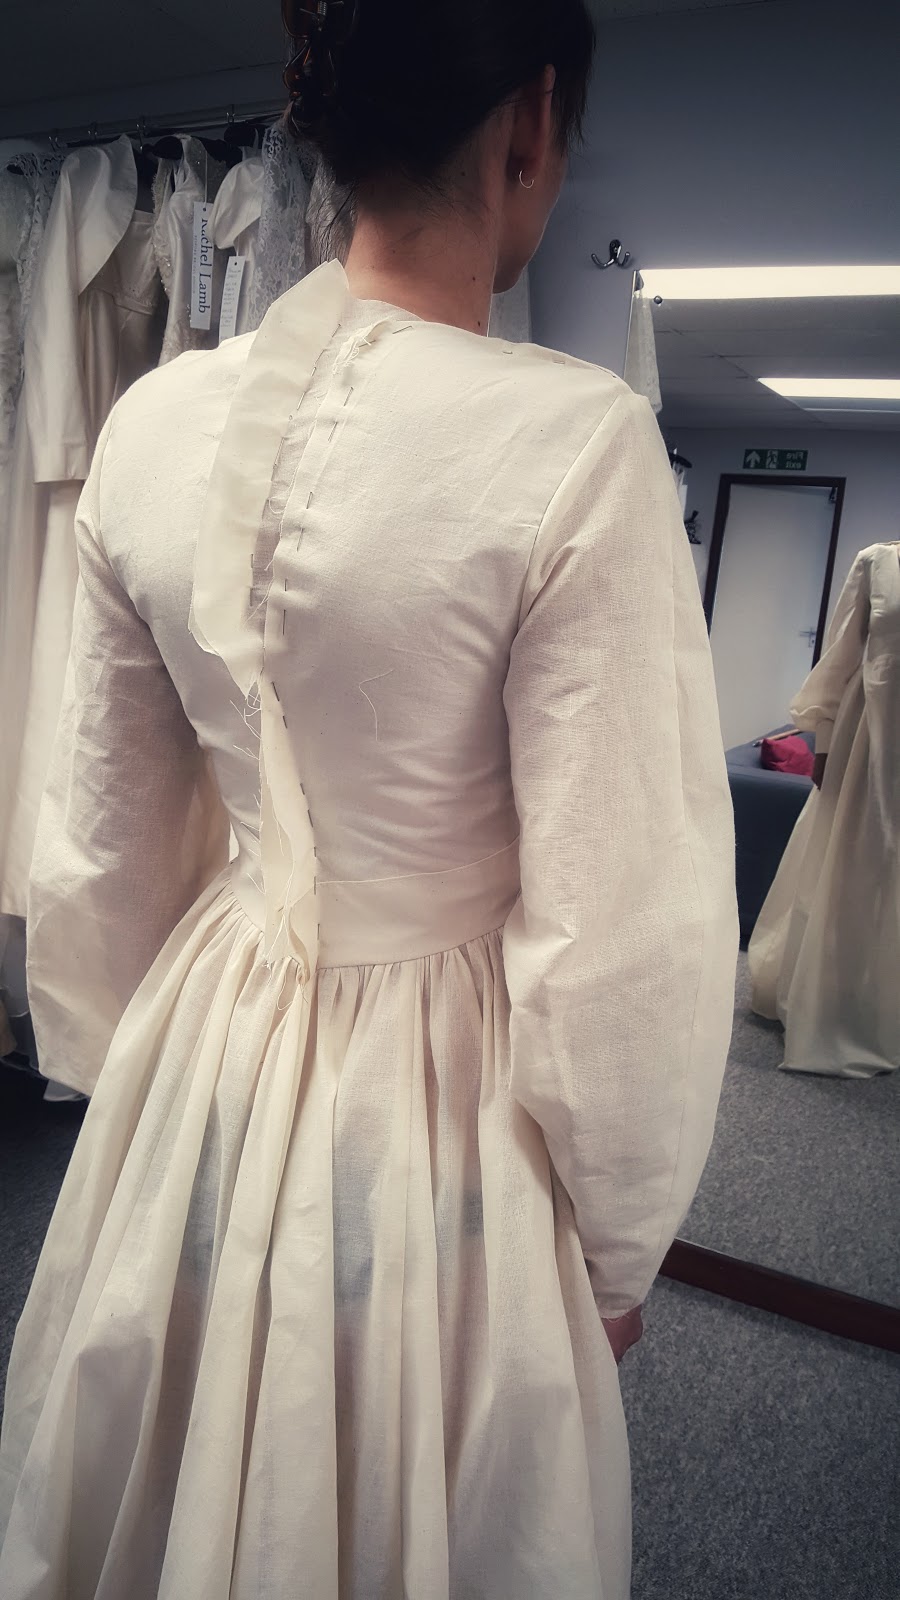
I made Lois's 1st toile using a mix of paper patterns that I drafted from her measurements and draping the fabric on the stand (dummy). Lois is tall and has quite prominent shoulder blades so you can see above that I filled in the upper back of the toile because it gaped when she put it on. Also her shoulder to waist measurement was long - longer than the length and proportions available on the dummy, so it was important to check that the shoulders of the dress were in the correct place when she put the toile on, because this was something I couldn't see well when she wasn't there.
At this stage in the process, there were a few variables in the design idea; one was what style of sleeve to have - wide and with a cuff, or just wide and hanging loose like a kimono? So to aid in the decision making I attached one sleeve with a cuff and one without.


The other variable was whether or not to have an open back. One of the design options was to have a slightly open back with buttons at the top. See below.

It looks rough at this stage, but that's the point. It's about getting the fit and proportions right and the fine detail comes later. In many cases the first fittings can be about having a play around to see what works, if that's what the design requires.
2nd fitting:

So for the second fitting this is an entirely new toile, made after the adjustments in the first fitting have been added to the pattern and re-cut. A more refined look is emerging. You can see that choices have been made - the sleeves have cuffs and Lois chose to have an open back which works really well with her tattoo. There's still some fitting needed at the centre front of the dress and I removed some length from the upper back panels.

At this stage we agreed that it was the right time to cut out the actual wedding dress and continue the work in the real fabric for the next fitting. This is when it gets more exciting and not like wearing a sack dress! Lois's design was reasonably simple so we only needed two calico toile fittings, but some dresses require more toiles and fittings than this, depending on the complexity of the design.
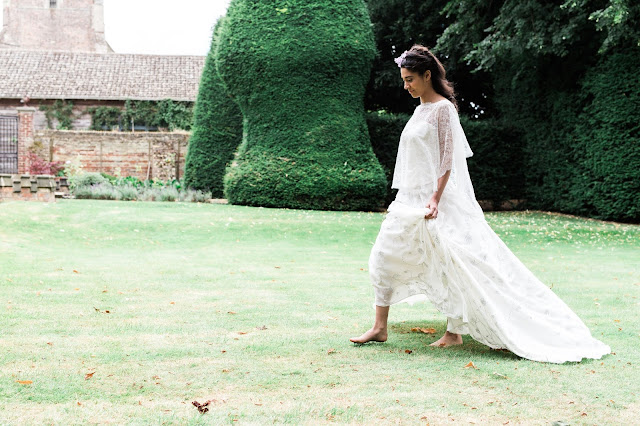
You've probably seen the final dress here, but I'll save the final two fittings for the next post.
I hope you've found this useful. X


Comments
Post a Comment
Thanks so much for your comment.